Friday, September 29, 2017

how to beautify your dog feeding station

Our family would not be complete without our dog(s),
which means dog food, water and food bowls.
As much as I love my dog(s),
some more (GBD) than others (Black Dog), 
(it is not like children, it is ok to have preferences!),
 Malou's bag of food does not really go with the kitchen.
So here was my solution:


 I purchased a cute metallic trash can from IKEA, and just put the bag of food in it,
 there are also enough place to store a few bags of treats. 
I keep the food in the bag so I have the number in case of recalls….


And it looks oh so much better.
I added a little chalkboard contact paper to avoid guest confusion,
in case they think it was an actually trash can!

After completing my little project, I check Pinterest,
and apparently lots of people have had the same idea about that trash can!
Here are some of my favorites:

1-Creative Home, 2-A Home Made by Kiki, 3- First Home Love Life


I had already taken care of all the toys in this lovely crate:


But I wanted to build something to hold her bowls of food and water,
she is the messiest dog we ever had!
From our basement demolition, I recovered some nice pieces of wood,
just the right height for Malou's feeding.
So I built a simple box with 2 large holes for the bowls.
She tried it out and it seemed to work fine,
until the next day when I realized the wood top was getting soaked
from her drinking, I told you she is really messy!
So I decided to paint the top white with glossy white paint,
it should be able to resist the moisture.


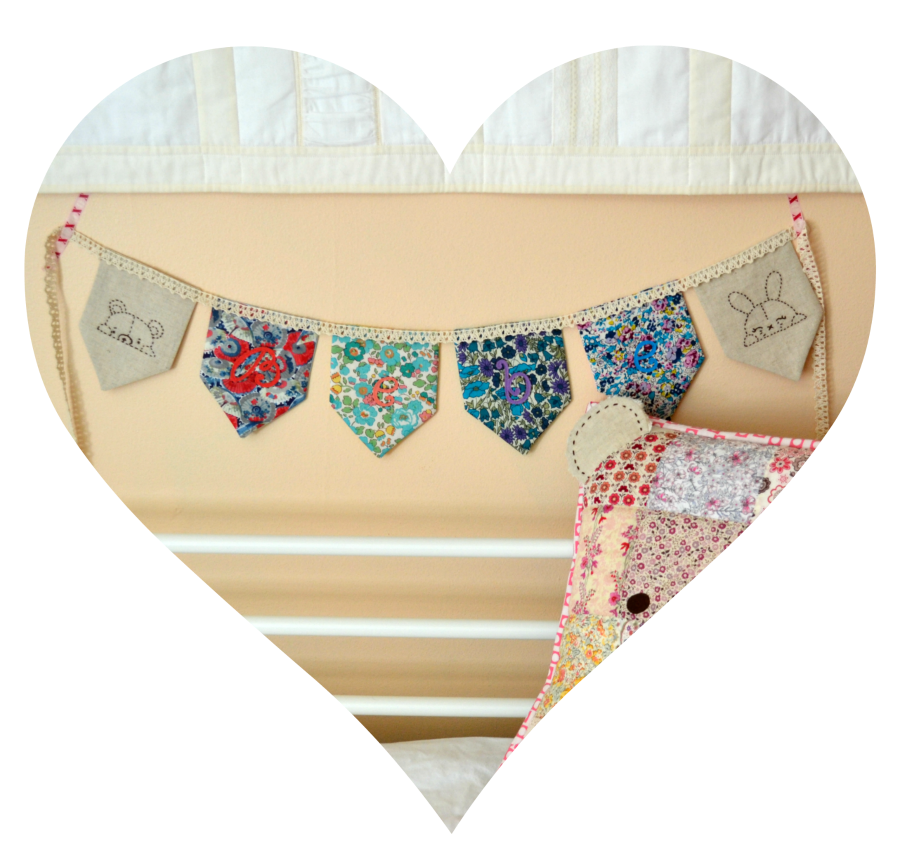
It was too skinny for the frame I found,
so I sewed some cute valentine fabric to the top and bottom,
just perfect for the spot!


So it went from an eyesore to a cute display:


and while I could not get Malou to pose for this post,
she likes it!


Happy day!

Tuesday, September 26, 2017

a beary cute pillow

You probably know the book: "if you gave a mouse a cookie",
well my bebe bunting was the cookie,
and I went down the rabbit hole....
and made more cute things like this pillow:


Beary cute, right?!

The pattern is from Amy's book: "Sweetly Stitched Handmades",
I have had the book for a while, but it was my first making something out of it.


The pillow is made of many Liberty of London prints,
some linen for the ears and snout and a little bit of chenille to make the ears softer!
The lace and hand stitching made the bear even cuter.


For the back I used one of the prints I brought back from Provence,
a very traditional print (une indienne), it has a good mix of pink and blue,
any girl favorite colors!

And of course, I kept on following the bunny down the hole....


So until next time for some more cuteness.

Happy sewing!

Tuesday, September 19, 2017

a cute little bebe bunting with a tutorial

With the upcoming arrival of my latest niece,
I have been able to sew sweet little things
like this little bunting:


Since I do not know yet the name of the baby,
I chose to write just Bebe (french for baby as she will be)
and surrounded it by a bear and a bunny,
for good company!


I think it will make the perfect room decor for any nursery:
linen, Liberty of London, lace, embroidery...


The embroidery pattern for the 2 faces is from "Sleepy time animal pals" from Nana Company.

My bunting is actually inspired by hers, from this blog post.

Here is how I made my little bunting:
I drew a simple shape for the pennant, similar to Amy's,
and cut 4 into different Liberty print and 4 into complementary solid,
and finally 4 (slightly smaller) into fusible fleece:


Then I typed Bebe into Picmonkey to get some nice alphabet,
traced the back side onto Wonder Under,
ironed it on the wrong side of solid fabric
and finally carefully cut out the letters!
(hint: start by the inside...)


I made each pennant the same way:
I ironed the fleece to the wrong side of the print,
with right side together (print/solid)
I sewed all around but for 2 inches on the top all around the pennant,
then trimmed the corners, turned it right side out
and finally ironed it flat.


Once all of them were ironed, I top-stitched the opening by machine,
the lace will cover that edge, so no need to hand stitch!


I ironed on each letter, then I machine stitched on the letter,
and finally hand stitched/quilted around each letter
as they were getting lost in the print!


I hand embroidered the bear and bunny on linen scrap,
then I cut the pieces to size, and make the pennants the same way,
but without the fleece, the linen is a lot heavier than the Liberty.


And finally I straight stitched the lace onto the pennants,
forming this delightful bunting:


I hope my sister likes it,
it is currently stuck in custom in some Scandinavia...

Next time, I will share another cute project,
to accompany the bunting....

Happy sewing!

Friday, September 15, 2017

Celebrating fall in the backyard

Over the past few weeks, it has been quite unseasonably cool,
so we have been able to enjoy the patio.


I decided to play with some accesories


into a little fall heaven, with rich orange colors: 


nice, right?!

The table was built as a table/bench during the ORC patio edition.

It is the same sofa with the same pillows, just cover with a dropcloth.
And a few pillows from the inside, making it super comfy.


The plaid linen pillow was brought back from Uzes (my favorite town in Provence),
the horse one is from Pottery Barn.


I brought a few more indoor things outside:
a simple quilt ladder (made of 1 x2) with a few quilt,
being a quilter, there are always quilts everywhere!
And a few more pillows and blankets....


It is the perfect place to have drinks, snacks and good conversations.

Happy fall!

sharing at : craftberrybush.com


Up to Date Interiors

Christmas crafting: it was a busy month!

This December was very busy with a lot of crafting, sewing, quilting, baking. I found it easier to share on Instagram (not something I thou...