Showing posts with label home improvement. Show all posts

Saturday, December 25, 2021

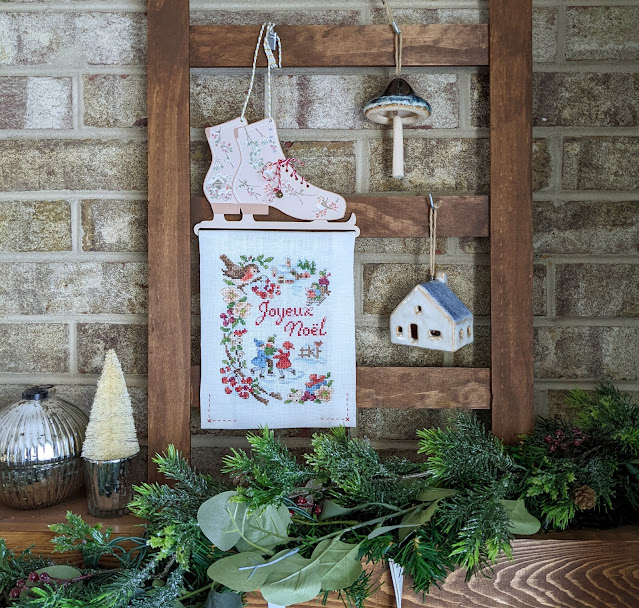
Christmas mantel with a new skating embroidery


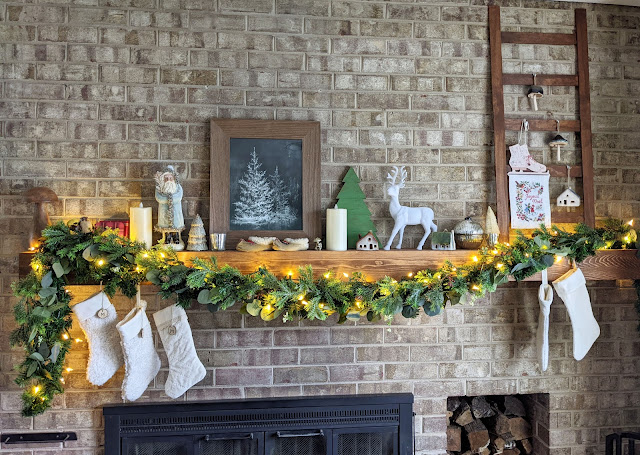
I finally finished decorating the mantel,
just in time for Christmas!
The cross stitched embroidery took me a little longer than I thought,


but it looks perfect there!

I layered lots of garlands on the mantel,
most of them from previous years,
adding the stockings from last year:
 

and a blue Santa from my Lucketts trip.
I added a little tree made from scraps of 1 x 4,
inspired by this tutorial by Crafted.

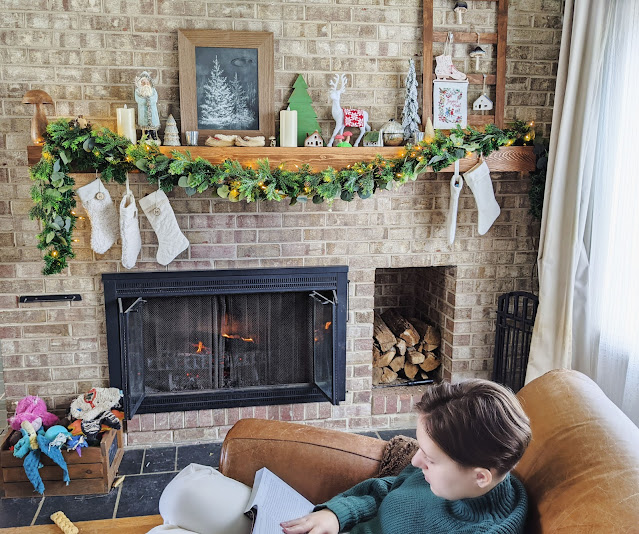
And there's nothing better than reading by the fire on Christmas day!


Merry Christmas to you and your family!

Friday, February 5, 2021

a simple teenager bathroom makeover, part two

In the summer 2019, I started  making over Miss C.'s bathroom,
with a new mirror, new lighting and new towel hangers.


I even repainted the vanity from brown to black,
much nicer with the black mirror.


We could have stopped there as she was quite pleased
with the outcome, but after removing the medicine cabinet,
she was a little short in storage,
so I built her some:


I built this cool ladder following this tutorial from Ana White (of course!)
and painted it black like the vanity.
It was not a complicated built, but it took me forever!


So now there is space to store extra TP,
Kleenex and more cactus!


Speaking of cactus, I found the perfect print:


Of course, I could have taken this makeover further 
by embracing the new trend of painting tiles,
but I thought it was good just as is.
Sometimes it is nice to keep things ....simple!


Happy Day!

Friday, December 4, 2020

building a mantel for our old fireplace

Last weekend, I built a mantel for our fireplace.
And it took about half a day!


Simple, yet perfect!

Here is the original fireplace to our late 60s house,
totally naked, except for the blue tape I was using for reference
while I was decided on the high and width of the mantel.

(Bosco loves looking outside!)


changing a few things, 
as I wanted a floating beam.

I used 3 pieces of pine: 1 x 5" x 8',
and made a long skinny box (88").
I stained it with Early American.

(you can see the tree I was flocking in the background!)

Then we hanged a 2" x 3" on the bricks
with special screws, it was a little scary!
I also attached 4 little pieces of the 2 x 3
perpendicularly to the wall to help support the beam.


Finally we put the beam on the support,
and put a few screws from the top,
and voila!


Surprisingly it looks like it totally belongs!


And now I need to decorate it for Christmas,
for the first time!

Happy Day!


Tuesday, November 17, 2020

a little change in the living room

Our life style has changed over the last few months,
probably true for a lot of you,
and we have been doing more family movie nights.
We realized that the way we had set up the living room
was not very convenient for the 4 of us to watch a show,
so I played musical furniture!

Here is our "new " family room:


It has pretty much the same furniture that we had before,
as seen last winter after I painted the library blue,
and made some more curtains:


I only rotated the couch and the coffee table
(that I improved a few years ago),
moved the side table and lamp from the right side to the left side,
but what a difference it makes!


We just need to rotate my "embroidery" chair,
we are set to watch movies as a family!


We did buy a new rug (from Rug USA),
as the old one was too dirty,
we tried to clean it outside but it was not a success...


I also changed the hinges on the library inspired by a tutorial from Young house love,
instead of being visible (and with paint rubbing off)

they are invisible!
(but it was a lot harder than I thought!)

In the right corner, I added the ladder I made a few years ago
to hold my blanket collection,


and a original painting from Maurice Moy
(a painter from my hometown).

I cannot leave this update with a picture of my 2 sidekicks,
who make any photoshoot an adventure:


Happy day!


Friday, August 7, 2020

Front yard overall, part two

We left off last time just after the masons have finished all the stone work:


looking very nice, ready for the carpenters!


We were looking for a simple front porch,
very square, like the house.
Because of the timing, we were not sure
it would get finished as our state started
to shut down.
Our contractor decided to keep working
as all the work was outside.


With the columns, it really started to take shape.


But then there was a long time waiting for the inspector,
and finally the under roof was installed!


And the magic of paint finished it all off:


As the grass started to grow, we made a new house number,
brought in a rocking chair from the back yard...


and started planting some plants and flowers
in the new bed between the driveway and the walkway.


We put more plants and added gravel,
perfect for lavender.


We purchased a set of new chairs for the porch,
perfect for 2 people, and just the right size for the space.


So are we done?
Well almost, the driveway needs to be redone,
(actually just finished!)
and I would like to get new light for the porch,
more specifically get another light on the other side,
which requires an electrician to enter the house,
and I am not ready for that.


Happy Day!

Christmas crafting: it was a busy month!

This December was very busy with a lot of crafting, sewing, quilting, baking. I found it easier to share on Instagram (not something I thou...