Showing posts with label woodwork. Show all posts

Saturday, December 25, 2021

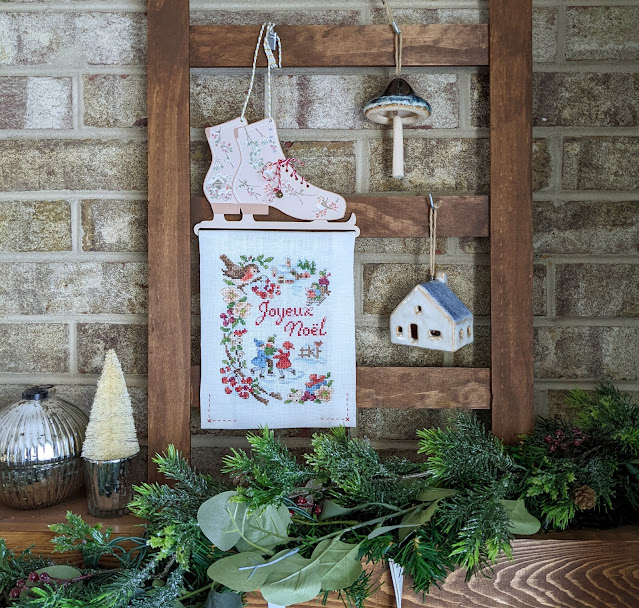
Christmas mantel with a new skating embroidery


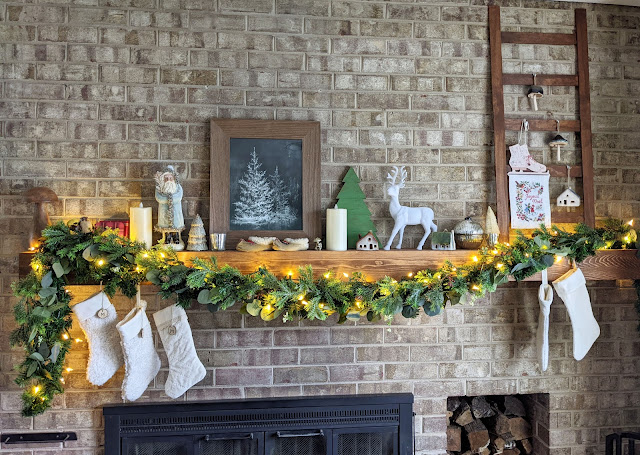
I finally finished decorating the mantel,
just in time for Christmas!
The cross stitched embroidery took me a little longer than I thought,


but it looks perfect there!

I layered lots of garlands on the mantel,
most of them from previous years,
adding the stockings from last year:
 

and a blue Santa from my Lucketts trip.
I added a little tree made from scraps of 1 x 4,
inspired by this tutorial by Crafted.

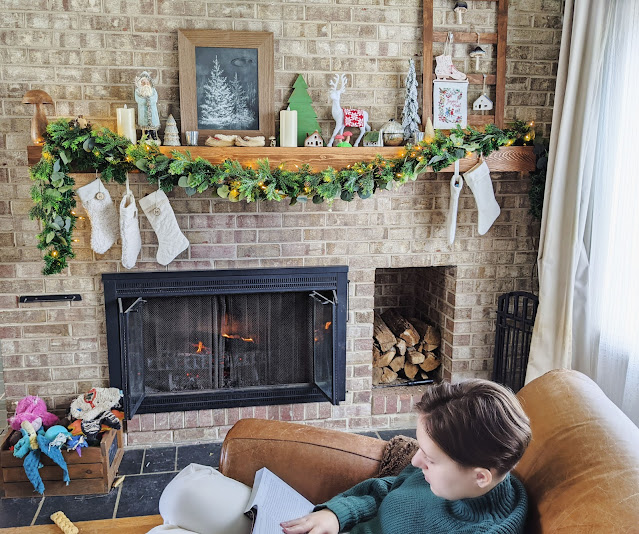
And there's nothing better than reading by the fire on Christmas day!


Merry Christmas to you and your family!

Friday, December 4, 2020

building a mantel for our old fireplace

Last weekend, I built a mantel for our fireplace.
And it took about half a day!


Simple, yet perfect!

Here is the original fireplace to our late 60s house,
totally naked, except for the blue tape I was using for reference
while I was decided on the high and width of the mantel.

(Bosco loves looking outside!)


changing a few things, 
as I wanted a floating beam.

I used 3 pieces of pine: 1 x 5" x 8',
and made a long skinny box (88").
I stained it with Early American.

(you can see the tree I was flocking in the background!)

Then we hanged a 2" x 3" on the bricks
with special screws, it was a little scary!
I also attached 4 little pieces of the 2 x 3
perpendicularly to the wall to help support the beam.


Finally we put the beam on the support,
and put a few screws from the top,
and voila!


Surprisingly it looks like it totally belongs!


And now I need to decorate it for Christmas,
for the first time!

Happy Day!


Friday, June 19, 2020

refinishing the patio table and some new candles

Summer is well on its way here in the DC suburbs,
and since we are not going anywhere,
it is nice to eat/drink on the patio.


But some of the furniture I made for the patio in 2015/2016
were starting to look a little tired.
Too many long winters!


and that brought back that little corner to its former glory.

from our old deck.

(the house was repainted last year!)

I never updated it on the blog, but I added some wood all around it for a more finish look.

I spent hours sanded it, bring it back to the light wood:


I liked the look of "naked" wood but it needed some protection for the elements,
so I tried teak oil on the bench like in the past, but that has a country look.

so I went with this oil instead :


it is darker than "naked" but the wood doesn't have that yellow color,
so I am happy with it!


With the table looking so nice,
I wanted to add some candles to the tabletop.
A while back I had seen this cool tutorial at Remodelando La Casa
and decided to make one too,
and it turned out perfect:


I followed the tutorial Cristina wrote, just changing the color of the spray paint to sea foam 
instead of aqua.
And I do not have any sand or seashells, so I used stone dust and flat rocks.
I even had the same little glass containers, 
I guess we like the same desserts!

So now we are ready to enjoy some nice meals on the patio:


Happy Day!


Saturday, March 28, 2020

a storage box for above the fridge

I have been making some changes to our kitchen:
I started repainting it palladian blue,
like the living room.

I spent a lot of time, searching for the right color,
trying many things, but none seems to be "me",
until I got tired of it all,
and reached that same blue/grey/green!


And it was perfect,
bright and fresh,
but as usual once I touched the paint,
other things needed attention....

The curtains looked ugly with the new color,
especially on this little area, just above the fridge:


At the time I made it in 2012,
it is was quite appropriate,
but it is now 2020,
time for something new!
So it was off with the "curtain"
and on with the mess....
It remained that way for quite some times,
but I found myself with a lot of free time right now!

(we changed fridge a few years ago, and 
went with white unlike the rest of our appliances)

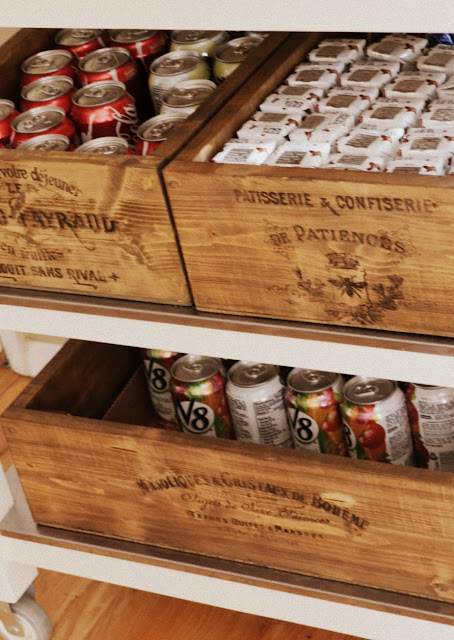
So I built a simple box out of  1 x 6 pieces of pine,
that I had on hand, nothing fancy,
just like I did for the crates I built in 2012 


They are still in their location,
I guess not everything needs to change this year!

This time it is a lot bigger


but same principle,
I decided to stain it like it did all the other ones,


but instead to affix these 3 wine enamel plaques
I purchased a few years ago
(and that I was able to find in my cleaning!):


I am able to hide all of the mess in the box:


I really like the look of the tags on the box,
and above the fridge!


Like in most houses, we use the fridge to display stuff,
just regular mess....

This has been my first week at home,
so I am started to catch up on the projects I have been wanted to do.
The kids have been home for 2 weeks already,
with close schools and universities.
With most of my relatives in Europe,
we spend a lot of times reading the news,
it is scary!

So we also spend time making food,


(I know I need to clean the outdoor table,
winter has been long!)

I will share more of the kitchen redo later,
it is still very much a work in progress...


I hope you and your family are staying safe.

Friday, January 24, 2020

an ironing storage shelf

Just like everybody,
in the beginning of the year,
I felt the need to clean and organize
but only my sewing room.

And it started with a simple project:
an ironing storage shelf


So much better than just leaning against the wall,
behind the door, it always seemed to slide
and close the door making it hard to enter...


and simplified it for my need:
1 large board (found in the basement!)
2 large white hooks (sold at HD by the piece)
and another piece of wood for the shelf (1 x 6)


While it is quite straightforward, I managed to put the hooks the wrong way the first time!
But it was easily fixed and after adding some putty and painting,
it is almost invisible...

To install it I used some cleats that I purchased at the HD,
perfect to hold heavy things,

and keeping it pretty flush with the wall.

Of course, the real moment of truth is when
everything is on it!
It works great,
and looks so much better...


Happy crafting!

Christmas crafting: it was a busy month!

This December was very busy with a lot of crafting, sewing, quilting, baking. I found it easier to share on Instagram (not something I thou...