Showing posts with label tutorial. Show all posts

Monday, April 15, 2019

little goody bags for Easter: a tutorial

Over the last couple of weekends
I worked on making Easter goody bags
for my kids and nieces/nephew,
and tried not to eat all the chocolates!


The bags turned out really cute,
and there are some chocolates left,
so a total success!
I went old school for the bags
and put chicken on them
instead of bunnies.....


The pattern for the chicken is from Bustle and Sew (the April 2019 magazine)
They are a mix of felt and Liberty of London, fancy applique chickens!

So here is a little tutorial on making these little bags,
once you are done with the chicken, of course!
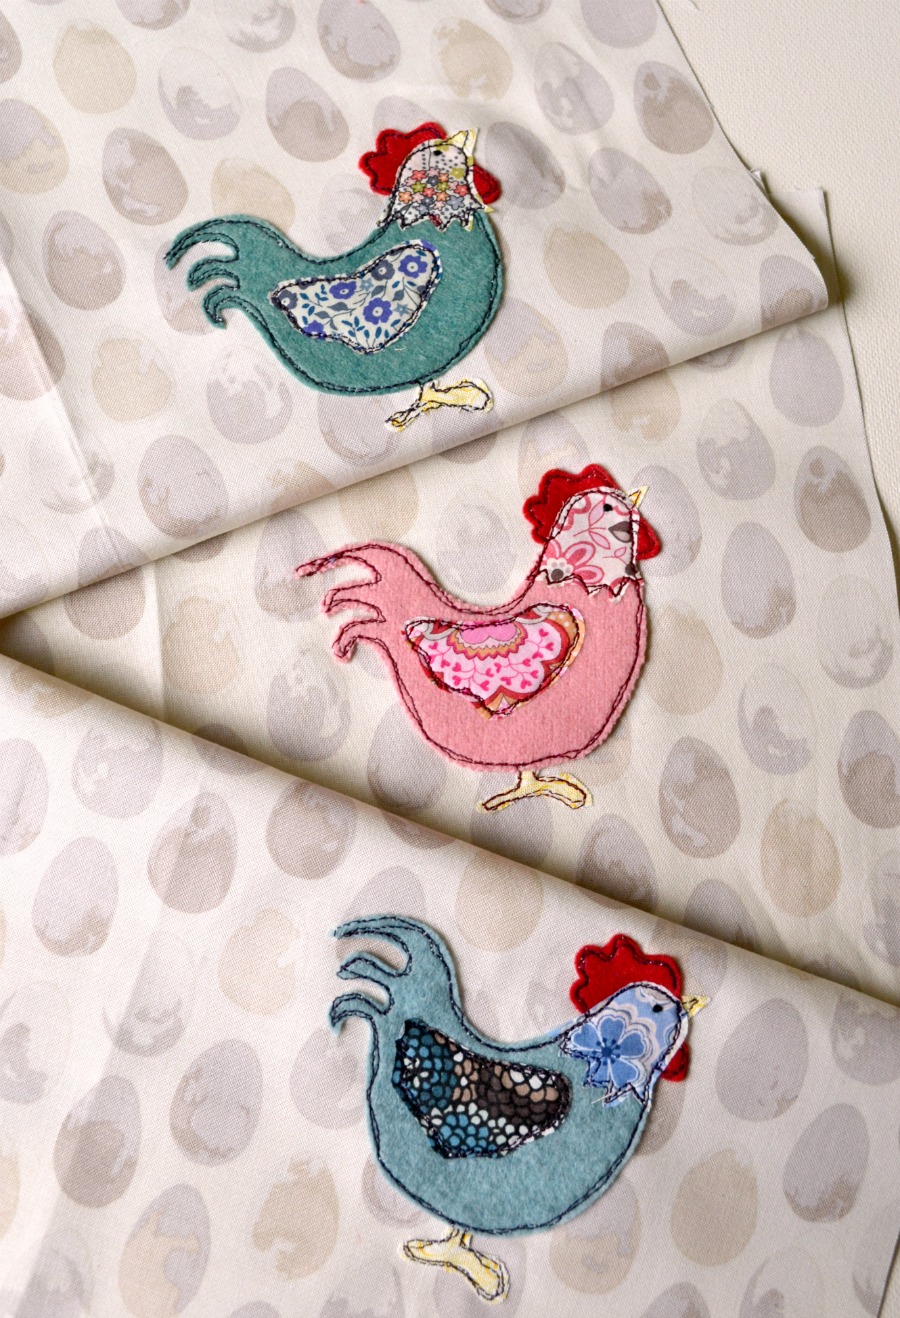

I started with a 16 x 8 piece of egg print fabric.
and appliqued the chicken, just like other sew illustrated things
I have been making lately.

Then I cut another print, same width but taller,
so that it can be seen from the top,
I wanted about a 1 inch visible, so 16 x 10.


I sewed it on the top, if the print is directional,
make sure it will be right side up once it is folded....
A little pressing then will be it easier 
when the lining is pushed inside the bag.

Then I folded the fabric onto itself
to make a very long rectangle,
and sewed all around it,
 except for a little section that is left opened.


From this opening, the fabric can be turned right side out.
After some ironing and pressing,
the opening can be stitched closed by hand
or machine, I like to do it by hand, it is quite fast.

Finally the lining is pushed inside the bag,
and voila!


I did a little extra top stitching at the top, 
between the main fabric and the lining 
(not seen on this picture).

To close the bags, I just use a piece of string
or ribbon.

I also made some other ones using some chicken wire fabric,
quite appropriate!
And the houndstooth is perfect for it,
it is known as rooster foot in French! 

The orange chicken bag is not lined, just sewn with French seams.

And here there are together,
waiting for this Sunday gathering!


Happy sewing!

Thursday, April 28, 2016

outdoor dining {One Room Challenge} week four

It seems like a recurrent theme,
but man, time flies by and not much stuff gets down on the week end!
This week end was especially true as it rained a good part of Saturday,
and I went to watch Brick Master (my high schooler) participate
in the greater DC regional robotic competition.
He and his team won 2nd place and are going to the international
event this summer, which means I am going to Florida too!
Alright, back to the actual part you came to check out:
progress on the One Room Challenge.


We have a table (with a still loose top),
we have chairs and
we have a bench,
now I feel like we are getting somewhere!


I protected the bench, after some much needed sanding,
with some teak oil, it is waterproofing and give it a nice color and patina.
It is the same thing I used on the couch.


I built this bench for 2 reasons:
1-to have extra seating at the table and
2- to use it a coffee table for the couch area.
It will be prefect place to put drinks and feet!
Mon Cheri installed the new outdoor light,
and it is perfect, so much prettier than the previous one.


I also started painting the lower panels on the house,
it might not be permanent as the house might get repainted in the next couple of years.
But it should look more polished and clean.
The new chairs are quite comfortable,
but the bench is well.... a bench,
so it feels like it needs some softening.
I am going to make some little flat cushions,
I have to sew something!
So far here is the color scheme:


as it is relatively close to the "seating room" of the patio,
I would like the color to go well together.
I have this really cute lavender print  
(brought back from Provence by my Mom),


Of course there are still quite a few things that I need to work on:
like adding some string lights,
oh and finishing that table top,
and a few other things!

The week end is just a few days away...

I will leave you with this cool pic of Brick Master in his glory:


3rd place seeding, 3rd place double elimination, 2nd place overall.
(the power of a good presentation!)


Wednesday, March 11, 2015

e-reader cover

 I sewed this cute cover over the week end for my sister, she has a small e-reader (French size, not compatible with US cover). She gave me the dimension and I made a simple tight fitting cover, similar this one from this tutorial.


To make it my own way, I sewed the cover using a quilt-as-you-go technique. It is easy and fast.
Here is how I made the cover:


I started with a piece of cotton batting, larger than needed, and put down the 1st piece and quilted it. Then I added another piece, and with right sides together, I sewed the seam between them, through the batting. I ironed the new piece flat and quilted it. I continued this way until the entire batting was covered.


I trimmed it to size, and cut the lining the same size out of another print.
I added a little stamped applique, a little trade mark of mine.


I attached a hair elastic on the top, in the center of the back side, I love this closing technique and I have been using it successfully for many years, like on my little girl purses and other pouches.
Then I sewed the quilted fabric and the lining together along the top side.


I folded the combined fabric in half and sewed all around leaving an opening along the side of the lining (I do not like to leave the opening on the bottom).


I turned everything inside out and closed the opening on the lining.


I stuffed the lining inside and top stitched the edge.


Now all that is left is sewing a button on the top to close with the elastic, which I forgot to do before taking the pictures, but not before sending it to my sister!


Oh well!

Happy sewing!


Tuesday, December 31, 2013

a year in review

This is the time of the year where I look back at my work
and check for favorites, yours and mine.

Well this year, just like last year, it has been all about dolls!


The girl scout vest remains my most popular post,
I enjoyed celebrating Mardi Gras, Valentine's day, Earth day,
Fall/Halloween and Winter sports.


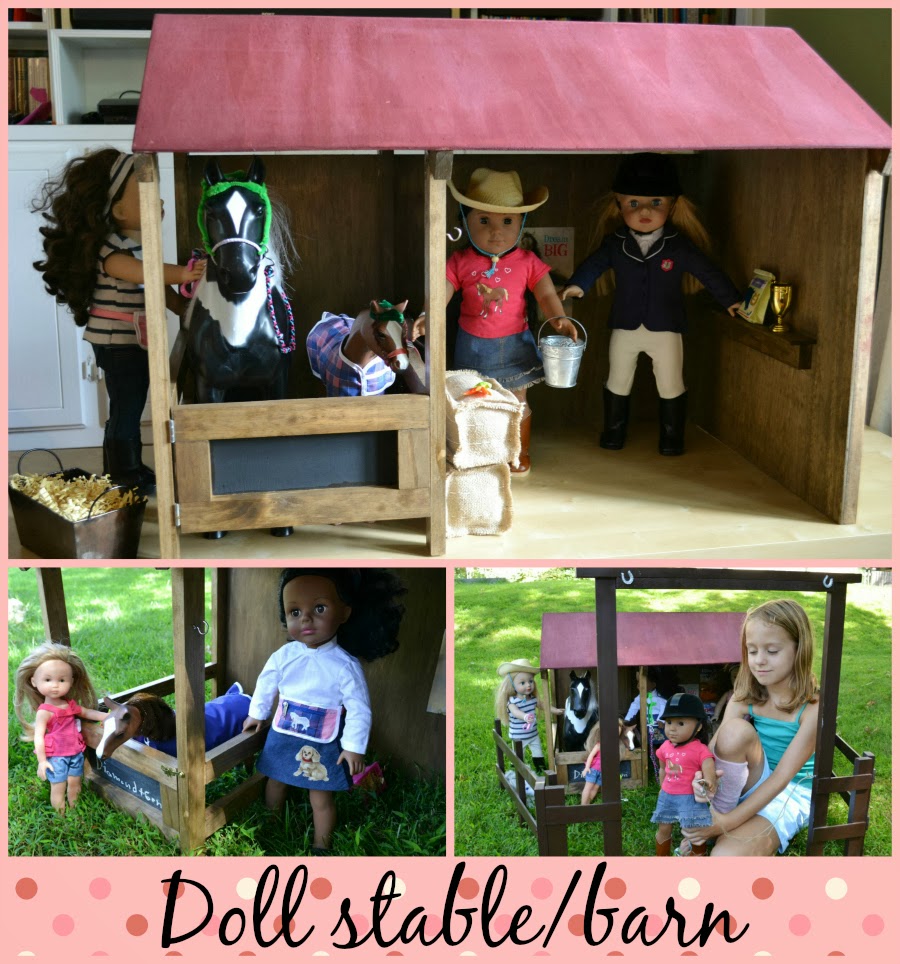
Another great moment was building the stable/barn for Miss C.'s bday,
it works perfectly with the ranch I made the previous year.

I managed to do some non-doll related sewing,
quilting remains one of my favorite activities!


Summer treats, Iron and dress, Sewing machine,
Tree skirt, mini quilt, Love pillow.

And I could not finish this year review without including the total remake
of the kitchen....I know I started the previous year but it was completed this year!


Actually completed might not be totally right,
I am thinking about adding a back-splash,
I guess we shall see what happens next....

Happy day!

Thursday, December 5, 2013

mug rug tutorial

After making my tree skirt, I was left with quite a few scraps of quilting and linen fabric,
so I had to make something with them,
it would be a shame to waste them!


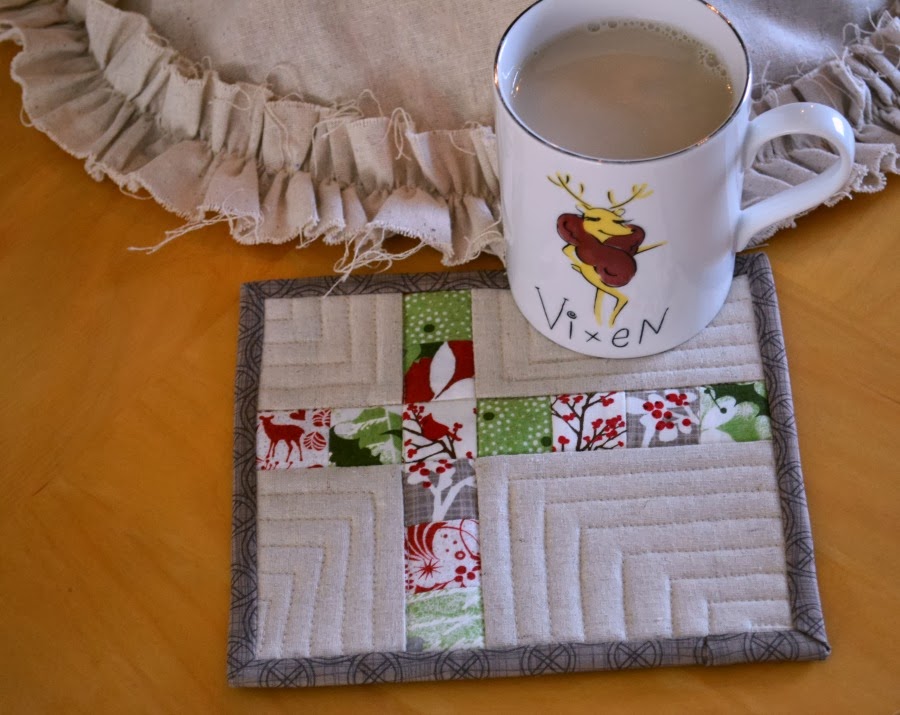
It is this year version of my favorite mug rug (and one of my most popular post!)
It was originally designed by Mary of Pin.Sew.Press.


A few of my sewing buddies have asked me over the years how I made mine,
so I thought I would make a tutorial of my favorite mug rug.

Here are all the pieces required for this mini quilt:
4 pieces for the background: 2.5 X 2.5, 2.5 X 4.5, 3.5 X 2.5, 3.5 X 4.5.
12 squares 1.5 X 1.5 of various fabric.


stitch the squares together in the following groups:
2, 3 and 7.


Stitch the band of squares between 2 background pieces.


Stitch the long band of squares between the 2 other bands.


The top is complete.
Cut a piece of fabric for the back and some batting,
here I used some insulated batting but it is not necessary.


Quilt it which ever way please you!
It is so small, it is a great way to practice free motion quilting...


(even with diagonal lines, it still ended it a little crooked!)
If you want perfect symmetry, the angle has to be 45 degrees, and not to the corners!

Prepare some binding.
I used to make regular quilting binding (2 1/2" wide piece of fabric, folded in half),
but it is a little too thick for such a small quilt, so I made a simple single layer binding.
You can check out this tutorial on single binding,
mine is slightly different, but both work fine.


I like to hand stitch the other side of the binding,
I know it takes extra times, but I like the finished look.


And here you have your cute mug rug!


Also cute from the back, the raccoon was framed totally unintentionally!

Now see back and enjoy a nice cup of chai,
or whatever you drink....no judging here!


Happy sewing!

Christmas crafting: it was a busy month!

This December was very busy with a lot of crafting, sewing, quilting, baking. I found it easier to share on Instagram (not something I thou...