Showing posts with label play food. Show all posts

Wednesday, January 15, 2020

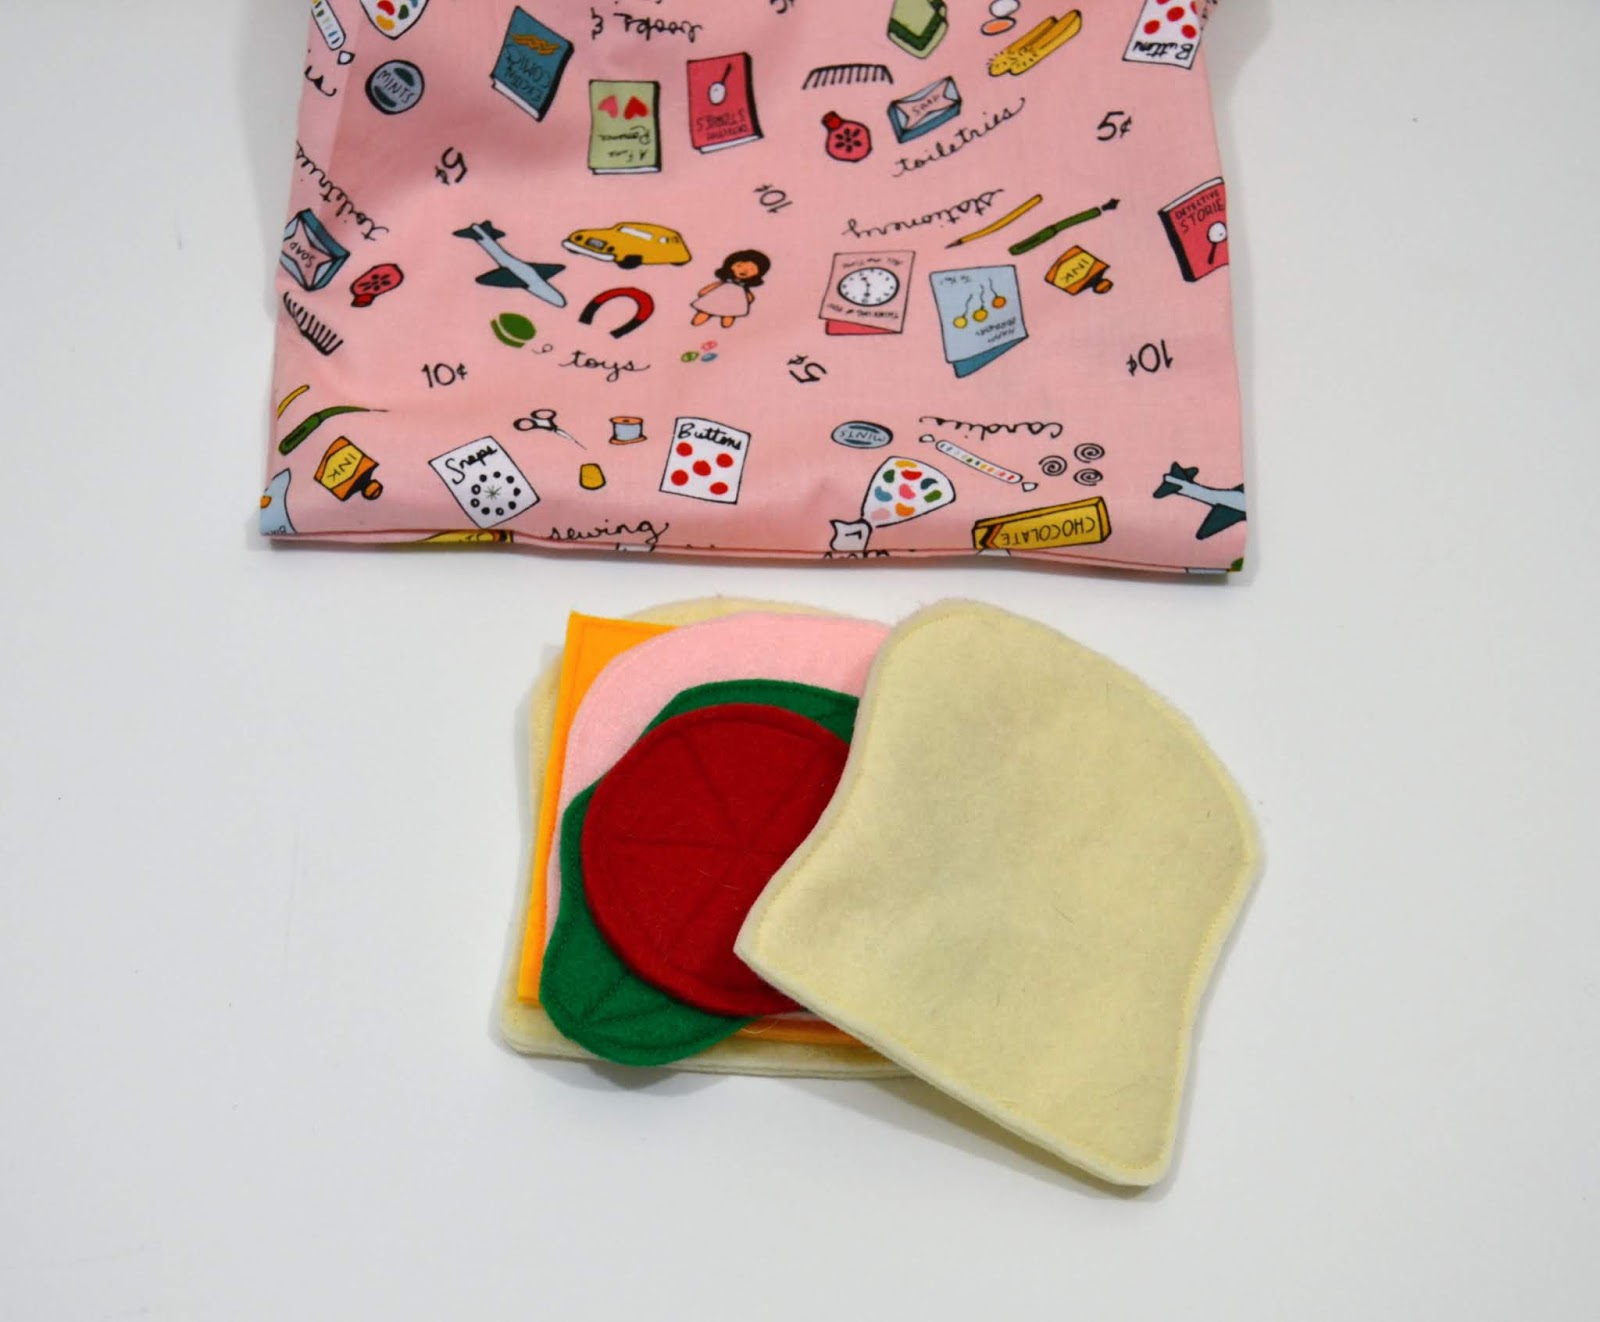
some play food with a mini grocery bag

I sewed a little grocery bag and some play food for my niece,
toddler E as she was visiting me (with her family)
over Christmas break.


I previously made a very similar grocery bag (here),
but this time I used some Five & Dime fabric from the Fabric Mutt,
just like I did for this lunch box.


Inside I put a delicious sandwich:
bread, lettuce, cheese, tomato and ham


I made some many of them when my kids were little,
it was nice to revisit that sandwich (previously here).

And a breakfast set:
pancakes with syrup, egg, bacon and a tea bag


I also made these many times before,
the original references can be found below:
pancakes, eggs and bacon (here)
tea bag (here).

Of course the best part is seeing a little girl's reaction:
She likes them!

Happy sewing!


Tuesday, April 3, 2012

a doll hutch: cupcake display

Last year, I build this hutch for Miss C.'s dolls.
I used this tutorial from Kristi at Pieces for Reese.


It turned out OK, not perfect (I am much better with fabric than wood!)
But since I only scraps of pine, MDF and bead board,
it was basically a free project.

(my starting pile)


Miss C. has been enjoying it a lot,
it is perfect to play and store all the kitchen supplies,
some are from AG, some from Target, and others
 from various locations as I was been looking for accessories that are the right size.


One of our latest fine: the egg box.


Originally it had egg shaped chewing gums,


 I replaced them with
"real eggs" from Michaels.


And I replaced the paper top with this sign,
I retraced the gum sign on white paper
and stamped the words, one letter at  a time.


It sits now perfectly on the shelves,
with all the other foods,
including erasers and polymer clay croissant.


Happy crafting!


Thursday, December 8, 2011

little bags

Yesterday, I sewed this cute little drawstring bag,
well today I made some mini grocery bags
with the same pattern I used for Mon Cheri's lunch bag.


It is the same holiday fabric than the drawstring bag
and Miss C.'s apron.
The pattern is from Keyla Lou.
I kept the handles simple as the print is busy 
and truth be told, I ran out of the snow flake fabric
I used for the drawstring bag!


I will be sending in them some cute 
felt play food I made a while ago
to 2 set of little girls.


They will be also great for shopping
at their pretend grocery store,
or of course to carry little treasures
than little girls seem to acquire!


Happy sewing!


Thursday, September 16, 2010

chocolate cake

Miss C. has been requesting some more cake,
play food cake.
I had already made 2 cakes,
but it was not enough!


So this time I made a cake she can "cut"
and serve individual pieces.

I started with 2 inch foam,


drew a circle with a plate, and marked 6 pieces.


I cut the 6 pieces with a bread knife.

I cut a 2 inch band of brown felt


and wrap the cake, cutting it to length.

Then I stitched it at the pointy end, the middle of the cake.


Using the same plate,
I also cut top and bottom of the pieces of cake.


and stitched all over the top and bottom.


It was looking like a nice cake,
but very plain!

So I added some whip cream,
following this description.

I also added 2 bands of lighter color felt,
to replicate the actual cake that was not covered in icing.


I think it worked quite well,
and she seems happy!

Happy sewing!


Sunday, August 22, 2010

projects in progress

The vacations are almost over,
school will be starting in a couple days,
we are busy getting ready!

And enjoying the last few days!


So I am behind in most of my late summer projects,
so here is a sneak peak of the sewing I have been up to lately.....
of course none of them are finished....
just about 90% complete,
so really nothing I can show you yet!


this is a close up of a embroidery on linen


this is a detail of a dress for a doll,
I have been inspired by History,
and decided to play....


this one is also for a doll,
more History, but different period!


It has been a while since I last played with felt,
but more food was requested...
Did you see the IKEA play food?
a whole breakfast for $4.99!!
I saw them, not as nice as the ones I make,
or most people make, but they are killing the market!
I guess that is how people that sell furniture feel like!

Moving on...


a cute early fall project with corduroy, quilting and hedgehog!

Well I hope you will be back to check on my progress...

but right now, my favorite merpeople are waiting for me!


Stay cool!

Happy day!


Sunday, July 25, 2010

Mermaid party

Today we celebrated Miss C. B-day
with some of her girlfriends.
Theme: mermaids!

As we have our house on the market,
it is hard to plan anything,
but yesterday it was confirmed that
this week end would be free of showing.
So we got ready for a party!

Since it was last minute,
it was not the prettiest party,
everything was on hand,
but the birthday girl enjoyed it!

The idea came up as we were setting the table:
white tablecloth with pink tulle overlay (left over from crafting),
and of course Princesses plates (also left over).
Not a bad start, but we needed something special....
we have some starfish and sand dollars, just waiting...
and there it was born,
not just Princesses, but Mermaid!


I was also able to find some mermaid tail fabric
in my stash, perfect for a fancy chair!


Next birthday cake,
there is no arguing here,
every year, I have to make the castle cake.
I tried to make it "beachy" by adding not flowers but sea shells,
not perfect but all the girls got it!


I know, nobody is going to hire me for cake decorating!!
It is OK I am keeping my day job anyway....!
Fresh baked, with homemade butter icing
(no shortening here, so the white is slightly yellow)
the shells are made with royal icing, quite tasty.

Before we enjoyed the cake,
they did a little craft, they made mermaid of course!

Then we went swimming in our neighborhood pool,
perfect for our little Princesses.

After our marine adventure
we were ready for cake:


She was very happy,
and it tasted really good!

Of course there were presents and lots of playtime!

To finish it off,
I prepared some goody bags:

Simple bags, decorated with the same sand dollar
attached with jute twine.


Inside, the starfish from the decorated table,
the mermaid they had made during the afternoon,
Princess fruit snack, some of my felt cookies


and a pony necklace
(with best friend forever action, does not got any better!)

Everybody seemed satisfied and had a great time.
I am pleased with how everything turned out,
like everything was planned!

Happy day!


Friday, March 19, 2010

tea party

Yesterday my daughter went to a birthday party:
a fancy tea party.

So I decided to make as a present for the birthday girl
supplies for felt tea party at home.
requirement:
-tea (bags, this is not the UK!)
-cookies
-fruit
-chocolate
-some container to keep it all

so here is my version of a tea party!


The tea bags are based on a few designs that I have been seeing on flickr felt group
I combined different parts from different people's vision to make my own version.
As you can tell, I like green tea!
I used tule for the bag, I cut leaves for the inside and the tag.
The string is cotton yarn , and for safety reason it is less than 6 inch.

I found the pattern for the chocolate bunnies at


I changed the eyes a little, the white part is stitched on with the blue floss,
I did a French knot, of course!


The little cake is made using the new TV show: DIY dish
http://www.thediydish.com/


It is rolled felt on the inside (strawberry/vanilla), recovered with icing
and with some cream on the top!

I also made my favorite cookies


and some strawberries.

For the tray/basket, I used 2 fabric, some ribbons and some iron-on fleece.


I started with a square about 12 inch, removed 4 squares in each corner,
 around 2.5 inch, whatever the high of the tray you are interested in.
I ironed on the fleece.
I stitched the 8 pieces of ribbon.
Then with right sides together, I stitched both fabric around, leaving an opening.
I clipped the corners and the inside of the corners.
I returned the fabric, ironed it and hand stitched.
To help the edges stand up, I stitched along the lignes through all layers.
Here is a view of the flaten tray.


It would be all that is needed for a tea party with friends,
after all it should feed 4.
The birthday girl liked very much!


Happy sewing!


Christmas crafting: it was a busy month!

This December was very busy with a lot of crafting, sewing, quilting, baking. I found it easier to share on Instagram (not something I thou...