Showing posts with label felt. Show all posts

Friday, April 7, 2023

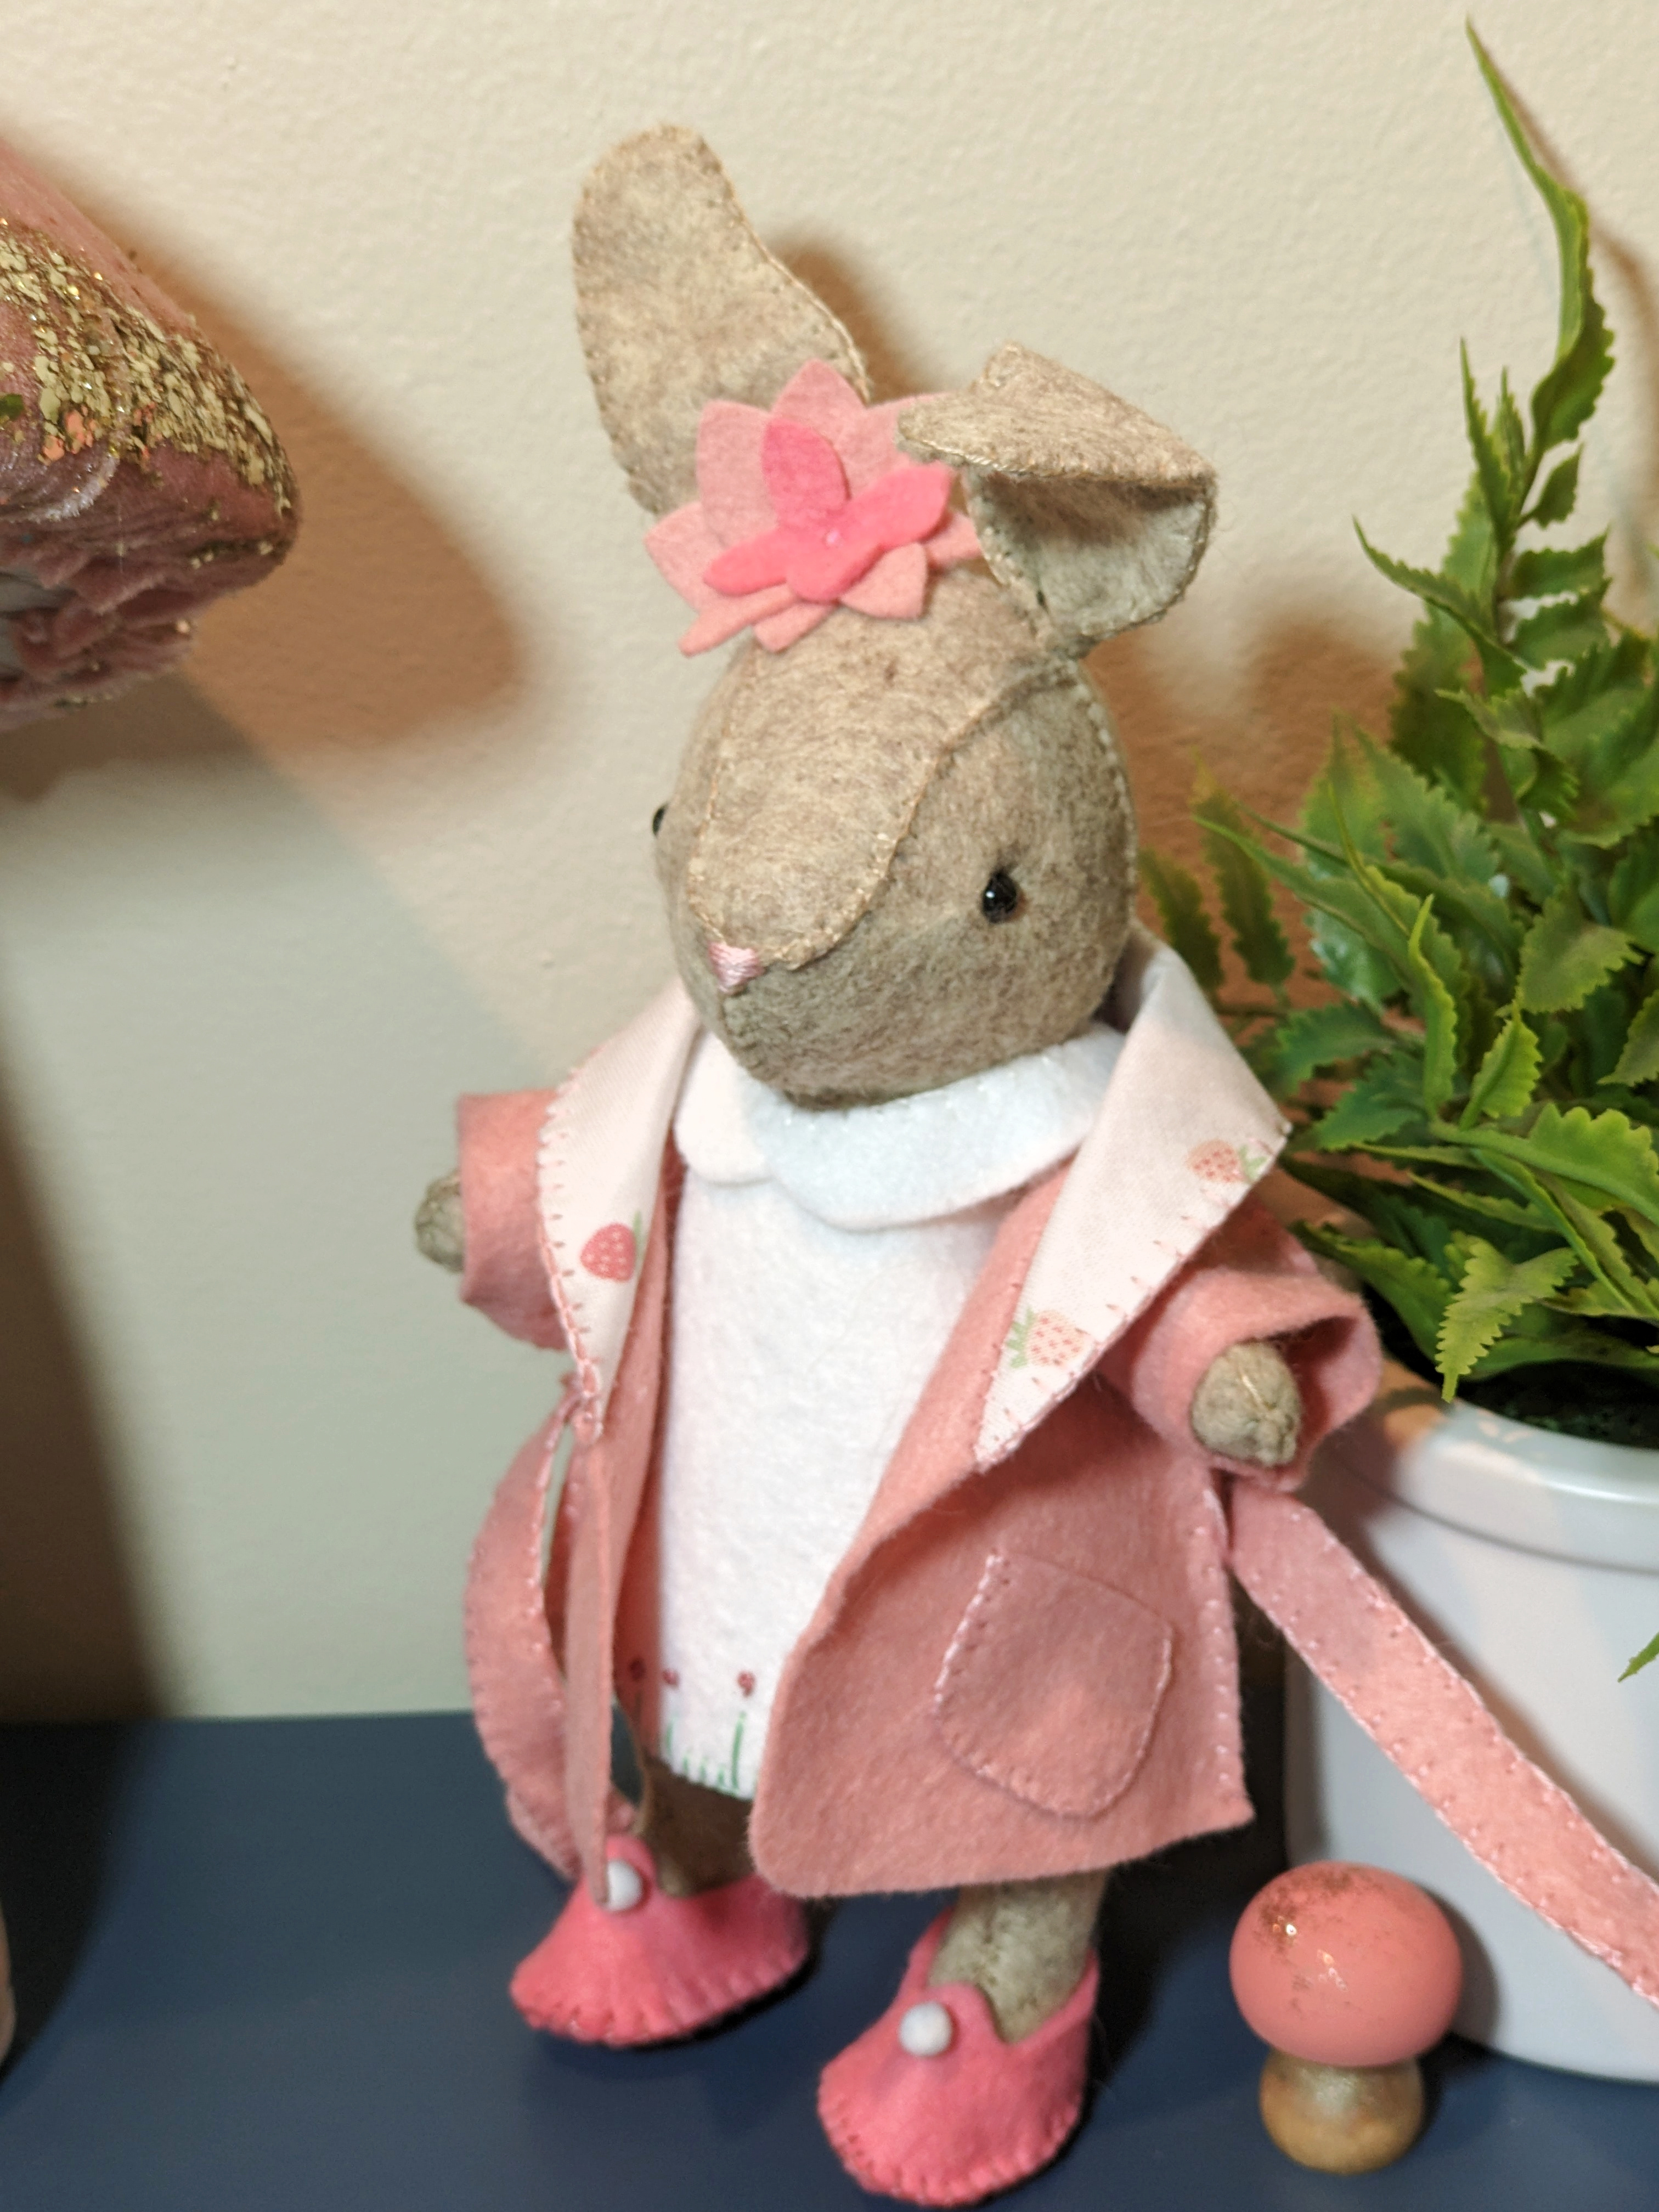
a new felt bunny

Over the years I am sure you have noticed my interest in 🐰,
so it will no surprise that I made a few more.


This little one is my latest, so cute!
And she lives in the land of mushrooms 🍄, another obsession.
All in felt, except for the collar of the robe:


a little bit of strawberry 🍓 fabric!
Notice the functional pocket?!

The pattern is from Ricrac, from their Easter bundle.


 Underneath, she wears a embroidered felt night gown,
and some pompom sleepers, of course!


I of course painted my wood mushrooms to match her outfit,
the large one is an ornament that I purchased at Lucketts last Christmas.

Hoppy Bunny!


Wednesday, October 26, 2022

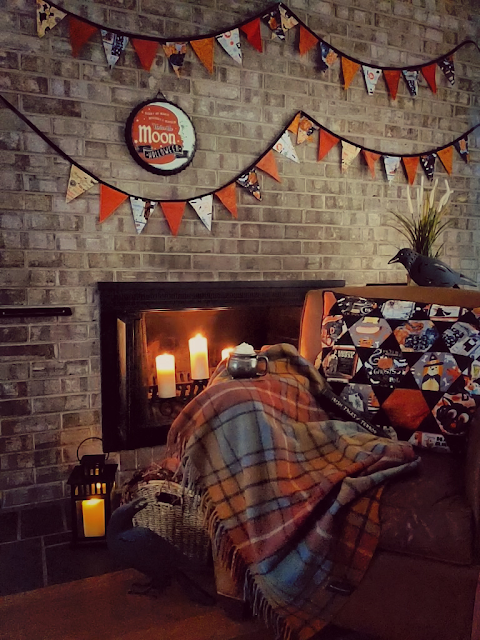
a new Halloween pennant with felt appliques

This is my second Halloween pennant,
I made it for Miss C. to decorate her dorm room,
she is a huge Halloween fan,
so it is a perfect little present:


Fun and not too spooky!

Two years ago, I made 2 for myself:


here for the post

Both are pretty fast to make,
I used my old Sizzix cutter for the shapes,
cutting them out of felt, 


and I followed this tutorial from Ameroonie Designs for the little flags.
All is machine stitched, not time for handwork!


I used the same mix of Halloween prints that I used for this little pumpkin
(also with her at college):


 Party pumpkin pattern from my Sew Quilty Life


Happy sewing!


Thursday, April 2, 2020

bunny love pillow

Sewing is usual a way for me to destress,
but right now I do not seem to have enough bandwidth
to deal with anything complicated,
so I am sewing bunnies!

Like this cute bunny love pillow:


The pattern is from Bustle and Sew magazine (issue 85, February 2018)

It is quite simple and doesn't need a pattern,
just 9 little felt bunnies and a little heart!
The background is some blue linen acquired many years ago.


Because the fabric is so soft 
I fused it to some iron fleece,
it made stable enough to machine stitched around all the bunnies.

Previous bunny pillow:

another cute "pillow"

Luckily I have my "sewing buddy" with me
to relax....


Happy sewing!


Wednesday, January 15, 2020

some play food with a mini grocery bag

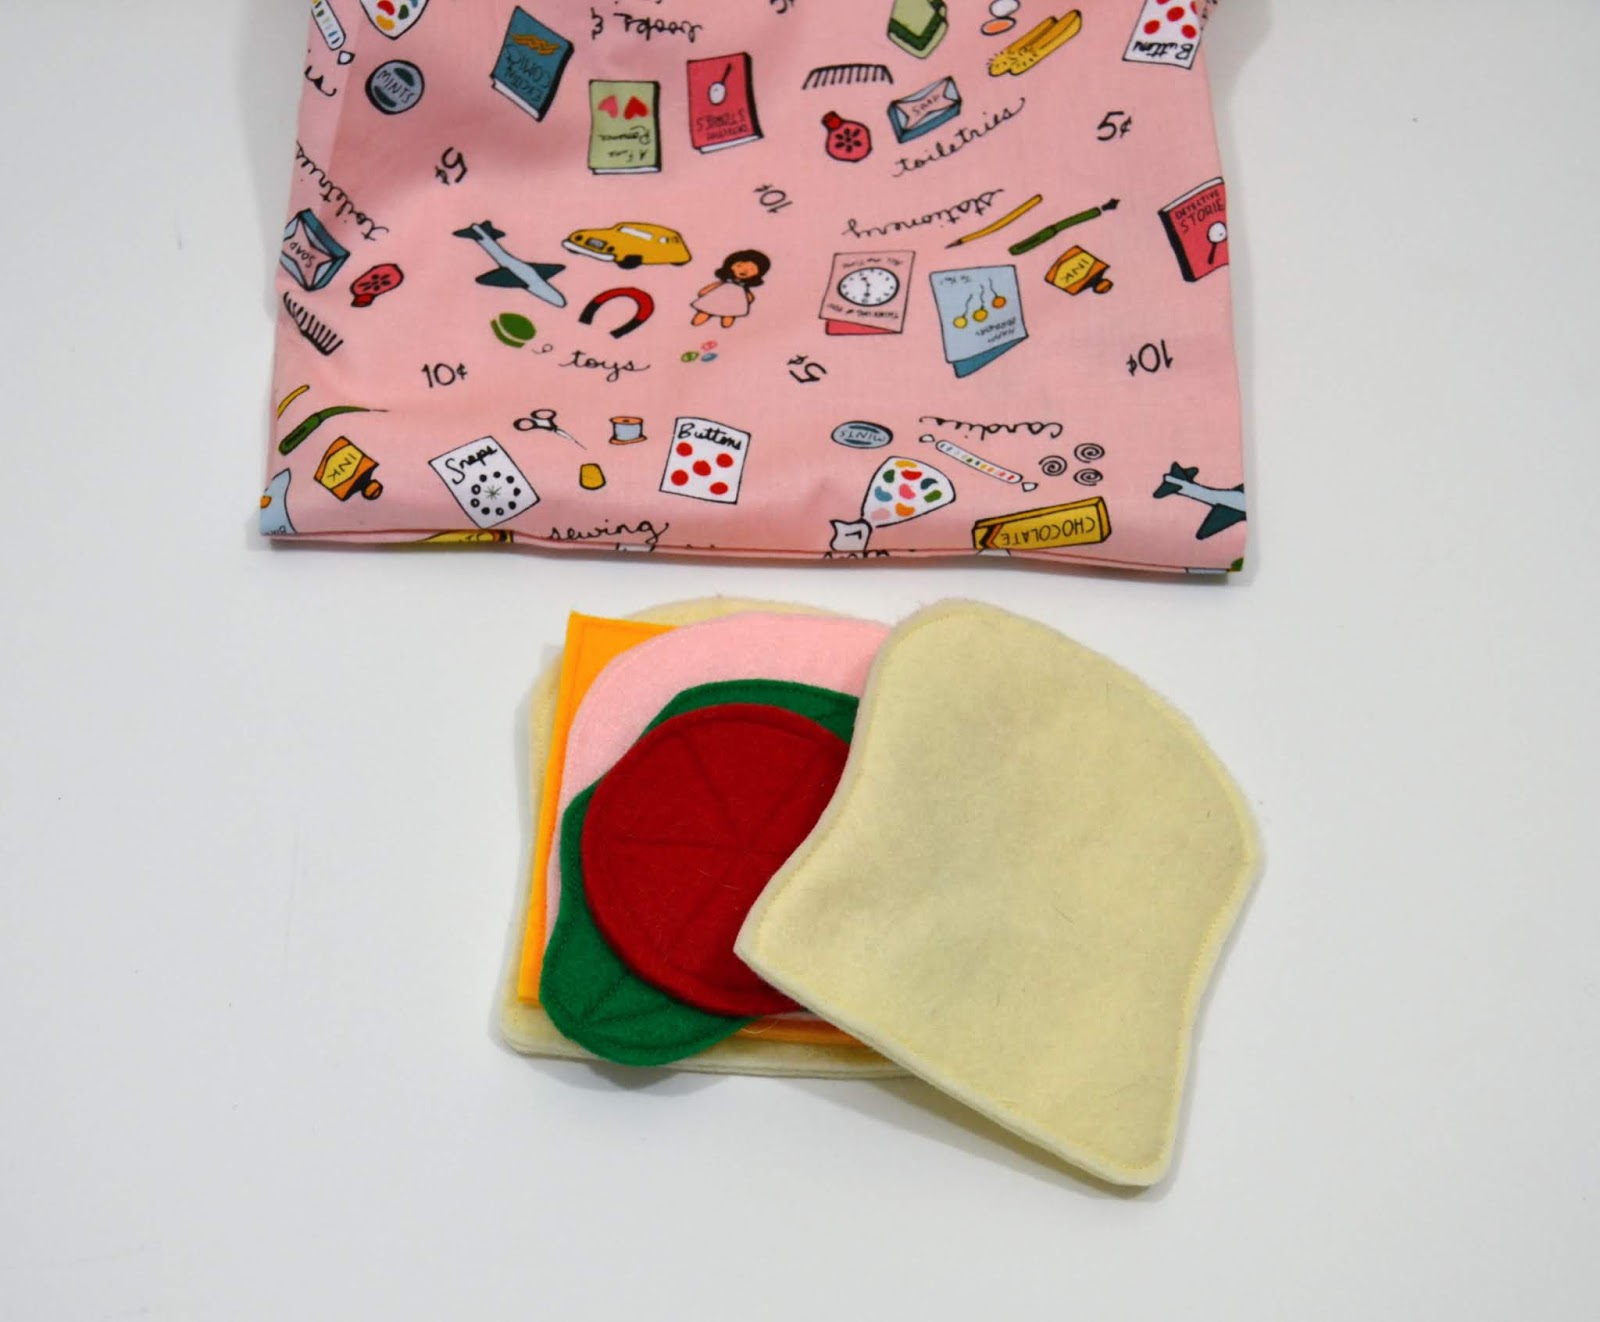
I sewed a little grocery bag and some play food for my niece,
toddler E as she was visiting me (with her family)
over Christmas break.


I previously made a very similar grocery bag (here),
but this time I used some Five & Dime fabric from the Fabric Mutt,
just like I did for this lunch box.


Inside I put a delicious sandwich:
bread, lettuce, cheese, tomato and ham


I made some many of them when my kids were little,
it was nice to revisit that sandwich (previously here).

And a breakfast set:
pancakes with syrup, egg, bacon and a tea bag


I also made these many times before,
the original references can be found below:
pancakes, eggs and bacon (here)
tea bag (here).

Of course the best part is seeing a little girl's reaction:
She likes them!

Happy sewing!


Monday, April 15, 2019

little goody bags for Easter: a tutorial

Over the last couple of weekends
I worked on making Easter goody bags
for my kids and nieces/nephew,
and tried not to eat all the chocolates!


The bags turned out really cute,
and there are some chocolates left,
so a total success!
I went old school for the bags
and put chicken on them
instead of bunnies.....


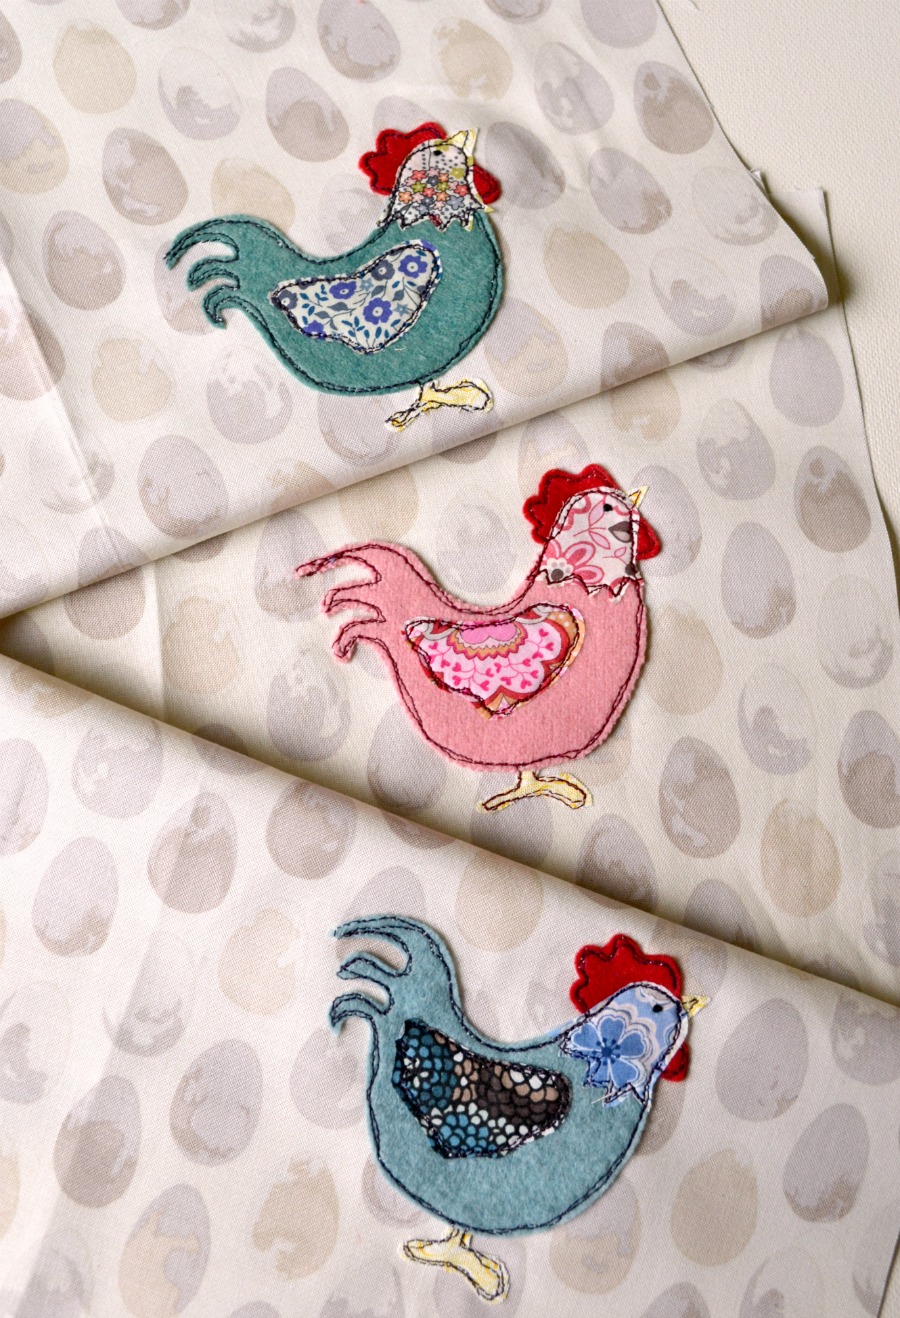
The pattern for the chicken is from Bustle and Sew (the April 2019 magazine)
They are a mix of felt and Liberty of London, fancy applique chickens!

So here is a little tutorial on making these little bags,
once you are done with the chicken, of course!


I started with a 16 x 8 piece of egg print fabric.
and appliqued the chicken, just like other sew illustrated things
I have been making lately.

Then I cut another print, same width but taller,
so that it can be seen from the top,
I wanted about a 1 inch visible, so 16 x 10.


I sewed it on the top, if the print is directional,
make sure it will be right side up once it is folded....
A little pressing then will be it easier 
when the lining is pushed inside the bag.

Then I folded the fabric onto itself
to make a very long rectangle,
and sewed all around it,
 except for a little section that is left opened.


From this opening, the fabric can be turned right side out.
After some ironing and pressing,
the opening can be stitched closed by hand
or machine, I like to do it by hand, it is quite fast.

Finally the lining is pushed inside the bag,
and voila!


I did a little extra top stitching at the top, 
between the main fabric and the lining 
(not seen on this picture).

To close the bags, I just use a piece of string
or ribbon.

I also made some other ones using some chicken wire fabric,
quite appropriate!
And the houndstooth is perfect for it,
it is known as rooster foot in French! 

The orange chicken bag is not lined, just sewn with French seams.

And here there are together,
waiting for this Sunday gathering!


Happy sewing!

Christmas crafting: it was a busy month!

This December was very busy with a lot of crafting, sewing, quilting, baking. I found it easier to share on Instagram (not something I thou...