Showing posts with label one room challenge. Show all posts

Saturday, May 16, 2020

refinishing the outdoor couch

So far this month, I have been updated a few things in the house,
using left over paint and fabric
with more or less success, hello quarantine!

This couch update keeps with the trend!
And is definitively a success...


Looks good, right?!


following Ana White's plan, just a little smaller to work with my cushions.

It held up very nicely as it is always outside,
but suffered a little from too much green...


not that it was too visible when the cushions were on,
but I only put them on when we use them,
so it mostly looked like this (I had already removed the back):


Much less pleasing!

One reason we always remove the cushions (beside the rain!)
is the squirrels make holes in them the steal the stuffing!


They also use the couch as an eating place!!!

So I spent a lot of time sanding, and sanding some more,
I stained the couch blue:


I also sanded the bench I made in 2016,
I still need to refinish it but I would like to keep it light,
so it will have to wait.

I guess my sister is right, I am going through my blue phase!
It looks so much nicer when it is "naked",
and great with the pillows.


Bosco agrees!


Happy day!


Tuesday, May 12, 2020

updated an older chair

It seems to be happening to a lot of things in our house,
playing musical chairs with furniture and accessories!
I guess quarantine is giving a desire to change 
without the access to anything....
And it happened again with this chair, with a little makeover added!


I went with a more simplified look!
 A few years ago, I redid the master bedroom during the ORC,
and makeover this little corner:


I reupholstered the wooden chair with a nice blue fabric, much better than the original ivory fabric.
(there were 2 identical chairs, one in the bedroom, one in the living room)
All was good, until I repainted the library blue,
and updated the curtains there....


The other chair was just next to the window,
and it was looking just average.....


but switching to the blue chair was just right!


So of course I decided to redo the other chair,
I had just enough blue fabric to recover the base and back.

After removing all the previous fabric
and the hundreds of staples,
I realized the "skeleton" was looking a little rough:


So I decided to paint it white.
I started with some primer, and then some white paint,
using the paint I had one hand,


Well it did not turn out as good,
as my white paint was too old!
So I did not finish painting the chair,
I will get more paint in a few months and repaint it again after sanding it....

But I was able to recover the base of the chair,


Because the chair still needs to be repainted, I did not staple the back,


but I decided to start using it right away:


I added a pillow (made a few years ago!) to cover the back,
making pretty and functional.

as it doesn't match the curtains anymore.
I have since changed to white curtains.


I set it up all pretty,
but on a daily basis,
it looks more like this:


As Bosco loves to look of the window!

Happy day!


Thursday, March 5, 2020

Almond blossom as a triptych for our bedroom

For the last few years,
I have looked at art works for our bedroom.
Ever since I redid this room during the ORC,
I have searched for something to put next to my side of the bed.

Well I made a triptych out of one of Van Gogh's most famous painting:
the Almond Blossom!


About 2 years ago, while we were in Amsterdam,
we visited the Van Gogh museum,
it was the kids first time really seeing his artwork,
and they were fascinated.
While I had been there before,
it was still mesmerizing.
We did not acquire any print then, just enjoyed the experience.

A few weeks ago, while going through IKEA,
(it is on my way back from dropping off Brick Master at university)
I bought a canvas version of the almond blossom,
not quite sure how I was going to use it.

The print was too big to use as is in our room,
so I decided to make a triptych out the canvas.
I purchased 3 canvas (12 x 24) from Michaels
(luckily it was buy 1 get 2 free!)


and started planning my cuts...
it felt a little sacrilegious to do so
but it was only a print from IKEA!


I cut each piece 4 inches bigger than my canvas to staple
in the back, making sure there would be prints on all the edges.

I did not remove the previous canvas,
just added my printed layer,
keeping in level on the bottom.


After the first one, it became easier as it started to look good!
And here are my three panels,
ready to be hanged on the wall.


In order to hang them, I used some blue painting tape
and a level, keeping everything aligned and leveled....

And it looks really good,


I like seeing the painting on the edges,
so much dimensions!

(the room looks very blue in this pic, but it doesn't feel like that in person!)

It feels like the perfect addition to our master bedroom.

It has been more then 2 year since the ORC,
so a few things have changed: new curtains (white instead of flowery),
blue lamp shade instead of white,
and a blue duvet cover instead of red:


the furniture remains unchanged!


Happy crafting!

Monday, January 20, 2020

painting the living room library

It is amazing how a quart of paint can change a room!


So much more modern!

A few year ago,
through the One Room Challenge 
I updated our living room,
and it was quite good:


with new paint, new curtains and
 some updates to our library.


But lately I found it was a little blend,
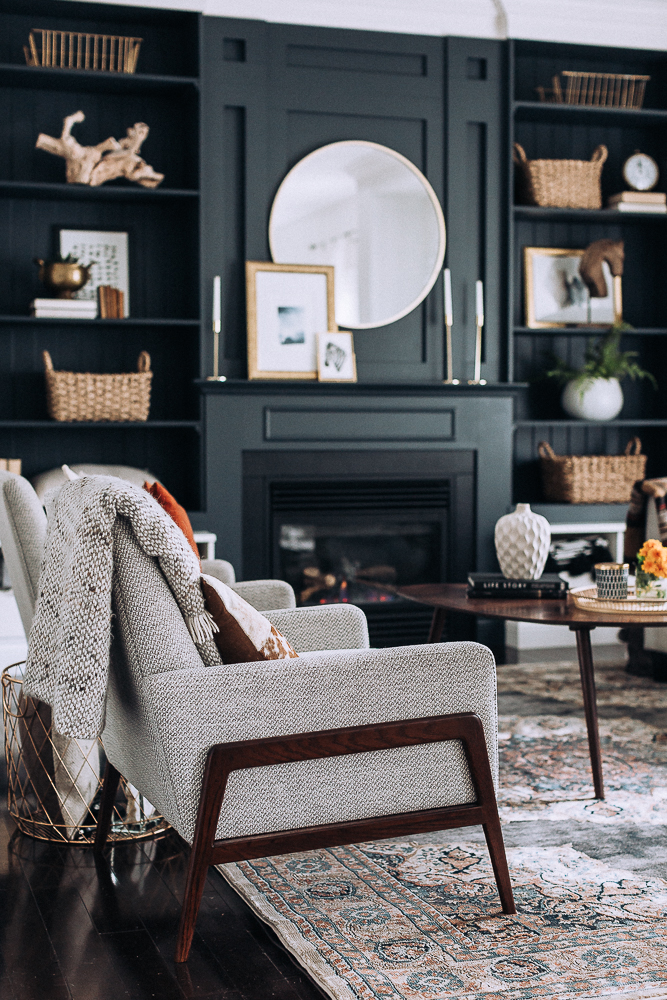
I started seeing dark colors back in style,

blackbuiltinshelvesinlivingroomcraftberrybush.com-3

like this from Craftberry Bush
and I grew more and more tired of the white library.

So I decided to paint it blue.
It took a while to find the right blue:

(Lou is not a dog who likes to get her picture taken!)

Once I was happy with my blue,
I started painting the library


unsure if I wanted it all blue or just the bottom.
Stopping there allowed me to live with it 
and decide that it was the right stopping point.

We have so many books, we barely see the color of the back.


We also decided to cut out cable, so one less black box 
and more space for books.
I also added a extra shelf in the 2 large cubbies
making spaces for smaller books,
and a proper place for the dictionary.
I was concerned that I might not be able to find the same molding
that was used to build this library 
since it was done at least 10 years ago,
(before we bought the house)
but it is in stock at the Home Depot,
so quite an easy project.


Mon Cheri thinks we should organize books by authors,
but I like them disorganized, with French and English mixed,
modern and classics willy nilly,
serious literature with YA novels next to each other!

To complete this wall,
I sewed two more panels for the small side window,
while it is small and does not require as much fabric,
it does take the same amount of time to sew them!
But once again, such a great change,
it makes me wonder why I stopped at that window,
actually I know, I was tired of making curtains!

(dog pillow here)

Happy day!

Christmas crafting: it was a busy month!

This December was very busy with a lot of crafting, sewing, quilting, baking. I found it easier to share on Instagram (not something I thou...