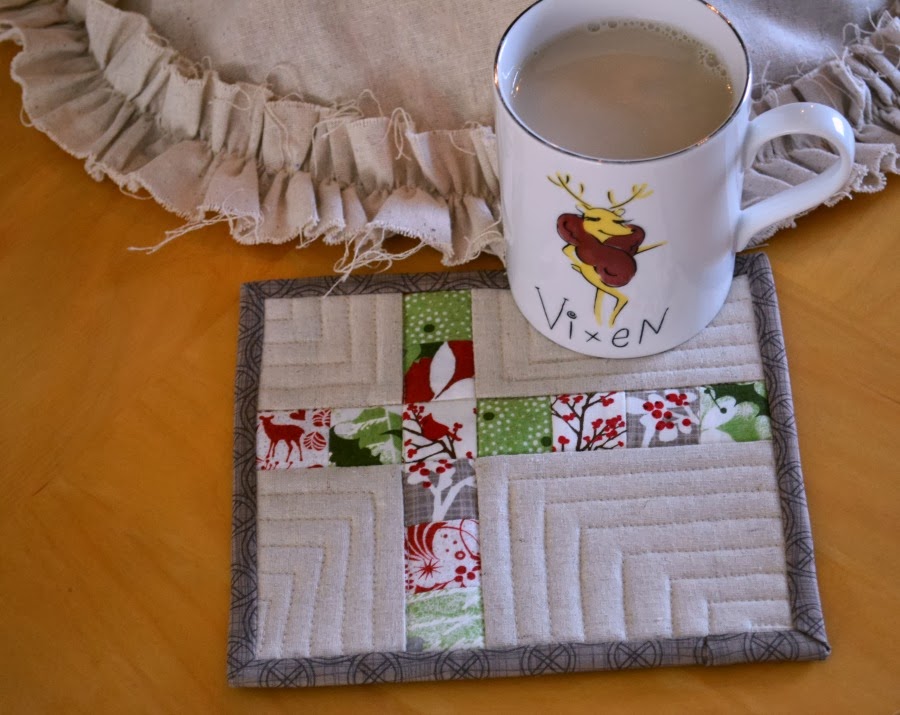
After making my tree skirt, I was left with quite a few scraps of quilting and linen fabric,
so I had to make something with them,
it would be a shame to waste them!
It is this year version of my favorite mug rug (and one of my most popular post!)
It was originally designed by Mary of Pin.Sew.Press.
A few of my sewing buddies have asked me over the years how I made mine,
so I thought I would make a tutorial of my favorite mug rug.
Here are all the pieces required for this mini quilt:
4 pieces for the background: 2.5 X 2.5, 2.5 X 4.5, 3.5 X 2.5, 3.5 X 4.5.
12 squares 1.5 X 1.5 of various fabric.
stitch the squares together in the following groups:
2, 3 and 7.
2, 3 and 7.
Stitch the band of squares between 2 background pieces.
Stitch the long band of squares between the 2 other bands.
The top is complete.
Cut a piece of fabric for the back and some batting,
here I used some insulated batting but it is not necessary.
here I used some insulated batting but it is not necessary.
Quilt it which ever way please you!
It is so small, it is a great way to practice free motion quilting...
(even with diagonal lines, it still ended it a little crooked!)
If you want perfect symmetry, the angle has to be 45 degrees, and not to the corners!
Prepare some binding.
I used to make regular quilting binding (2 1/2" wide piece of fabric, folded in half),
but it is a little too thick for such a small quilt, so I made a simple single layer binding.
You can check out this tutorial on single binding,
mine is slightly different, but both work fine.
I like to hand stitch the other side of the binding,
I know it takes extra times, but I like the finished look.
I know it takes extra times, but I like the finished look.
And here you have your cute mug rug!


No comments:
Post a Comment
Merci pour vos commentaires, I will get back to you as soon as I can!